Installation
forge with the standalone environment.4 minute read
StormForge Performance Testing provides a command line tool called forge for easy local development of test cases and integration into your CI/CD pipelines.
This guide shows how to install it and some common usage examples.
All examples below assume you are working in the organization acme-inc and with the test case sandbox.
Installation
To install the forge CLI tool you can use one the following methods:
-
Download the latest released binary for your platform:
- Linux:
curl -LJO https://app.stormforger.com/download/cli/linux - macOS:
curl -LJO https://app.stormforger.com/download/cli/darwin - Windows:
curl -LJO https://app.stormforger.com/download/cli/windows
- Linux:
-
In case you are on macOS and using Homebrew you can:
brew install stormforger/forge/forge -
You can also use our published Docker image stormforger/cli. We will publish the latest tag, so you can do:
docker pull stormforger/cli
docker run stormforger/cli
Our CLI is open-source. You can checkout the code at github and browse released versions.
Most actions require authentication. So in case you don’t have a StormForge Performance Testing Standalone account yet, you have to sign up first - no worries, it’s free!
To use the forge CLI in your CI/CD pipeline, you only need to do two things:
- Install the
forgecommand line tool in your PATH (see above) - Export an API Token via the environment variable
STORMFORGER_JWT. Alternatively you can make it available via the$HOME/.stormforger.tomlfile or via the--jwtflag.
The next section explains how you can obtain an API Token.
Authentication
API access is managed via API Tokens. Once registered at https://app.stormforger.com you can either login with your personal credentials or create a service account with a unique token for your organizations.
Personal Account
The forge login command allows performs an authentication with our API and obtains a personal authentication token.
forge login your-email@example.com
You will be asked for your credentials.
On successful authentication your API Token will be written to ~/.stormforger.toml.
When you are done, you can ensure the API Token is valid by sending an authenticated ping request:
$ forge ping
PONG! Authenticated as your-email@example.com
Service Account
Service Accounts are non-personalized API tokens scoped to a single organization.
They can be created at https://app.stormforger.com/organizations where you can Manage Service Accounts per organization:
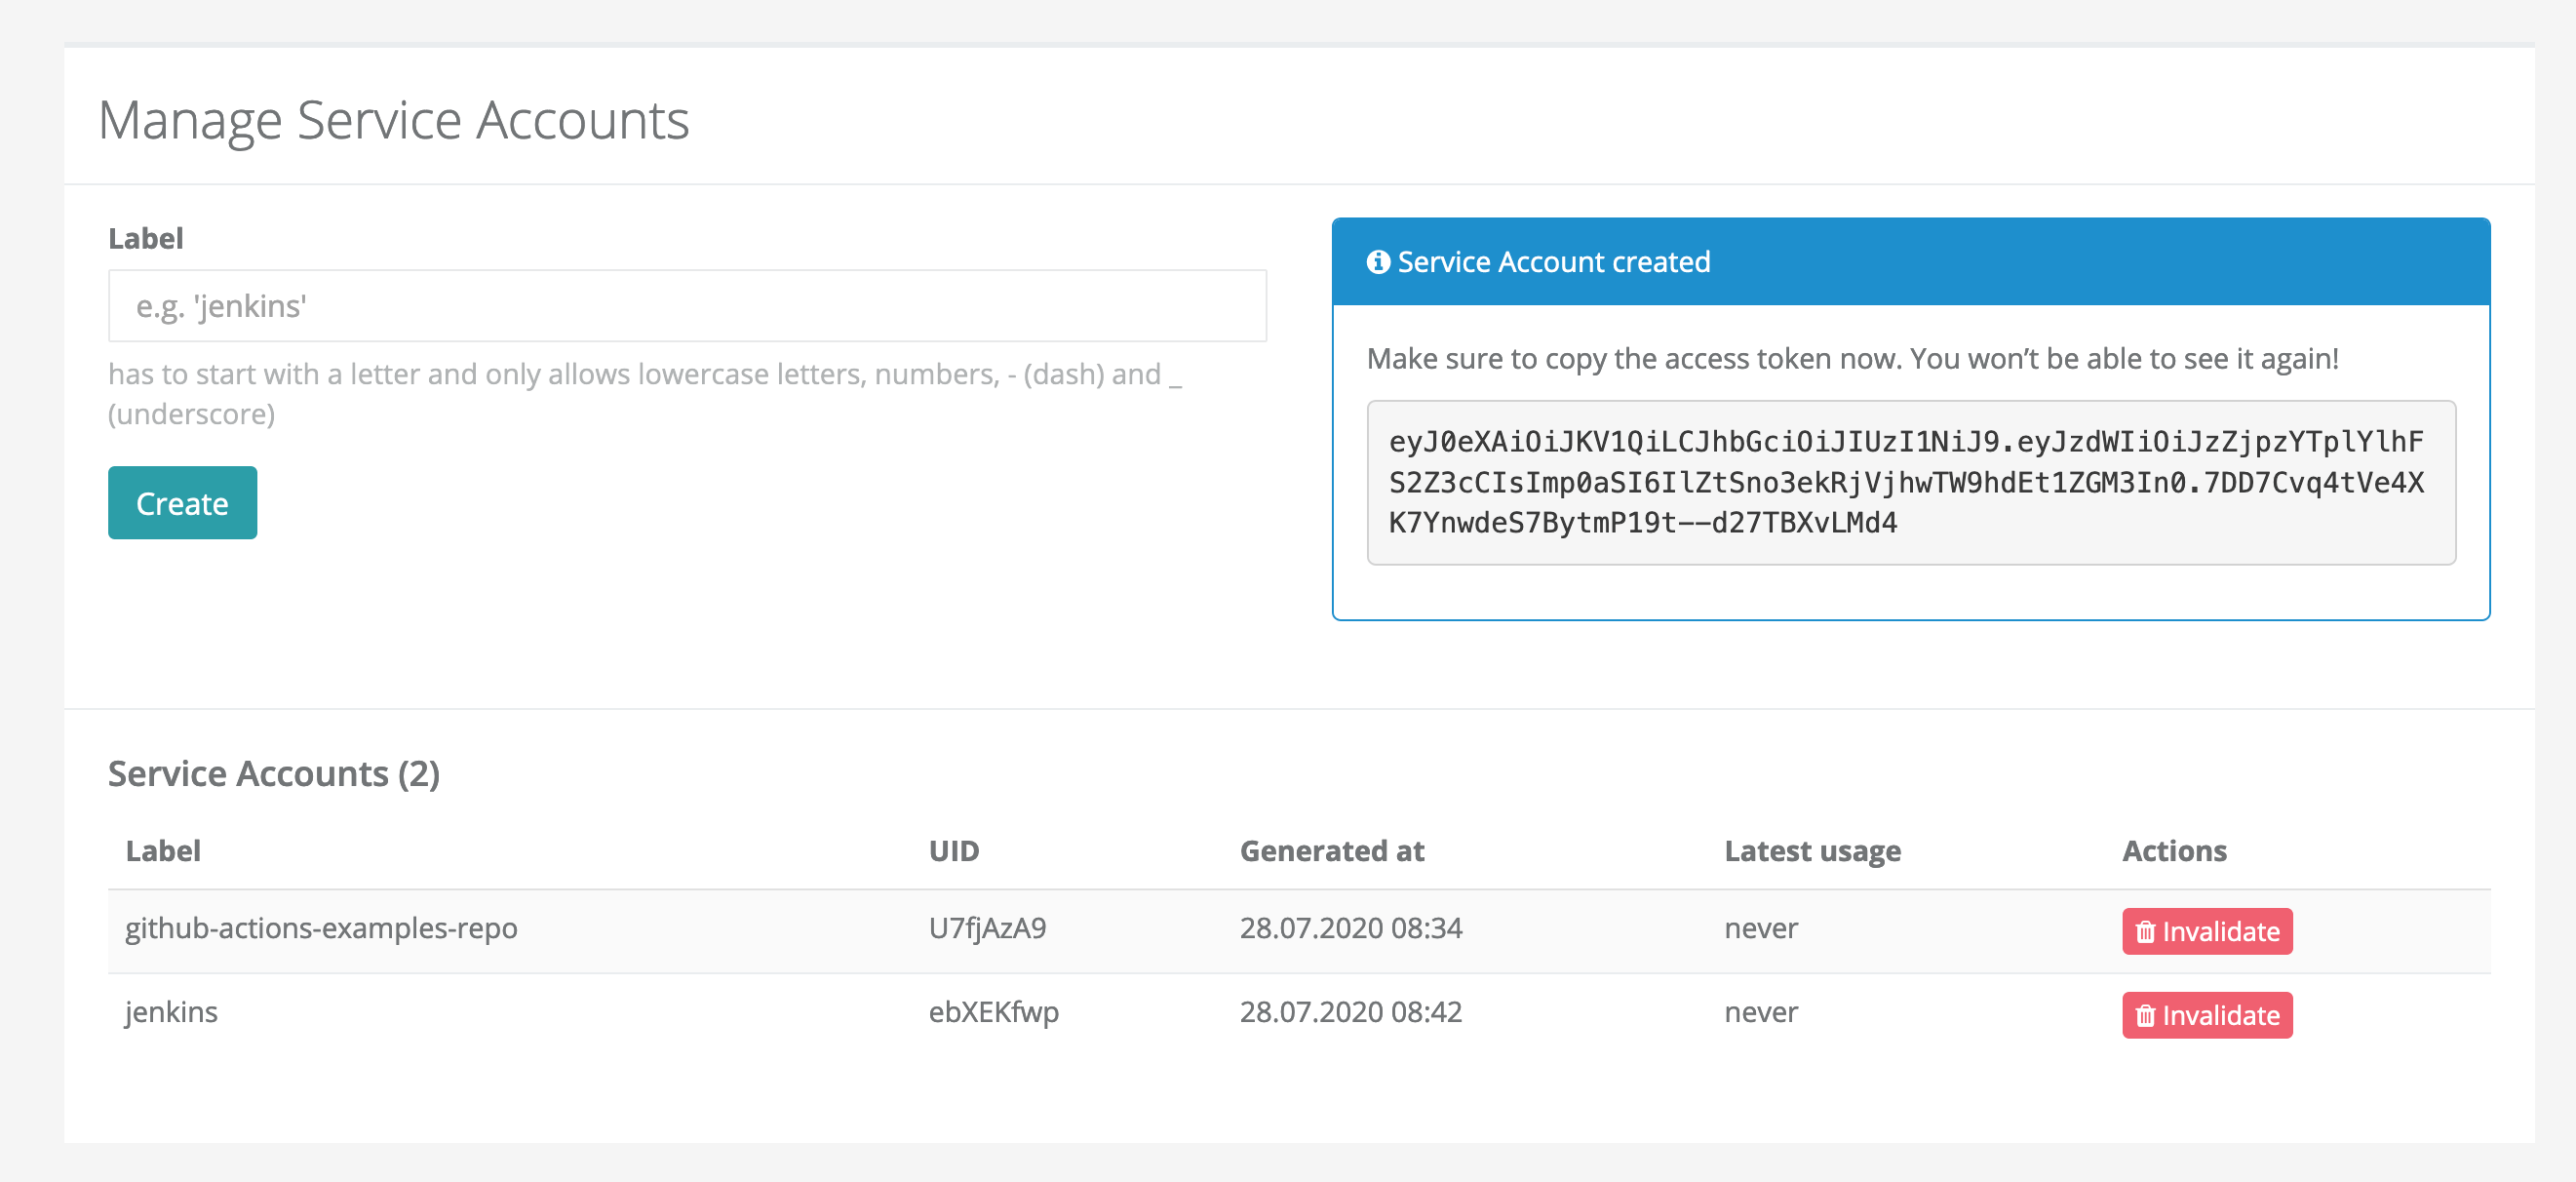
Service Accounts are useful if you plan to integrate the forge CLI into your CI/CD pipeline, since they are linked to an organization, not a specific user.
After creating a new service account, you are shown a token.
Copy this token, as it will not be shown again.
If you lose this token, you need to invalidate the service account and create a new one.
To use this token in a CI/CD pipeline, pass it in the STORMFORGER_JWT environment variable to the forge CLI.
Again, to verify that your token works, you can use:
$ forge ping
PONG! Authenticated as jenkins-7pxxyyzm@noreply.stormforger.com
Creating and updating your Test Case
You can use the forge test-case create subcommand to create a test case in your organization from a local file.
By adding --update the command also updated the test case if it already exists instead of failing with an error.
forge test-case create --update acme-inc/sandbox cases/blackfriday.js
Debugging a Test Case
Launching a Validation Run allows you to ignore the defined arrival phases and run a single user for each defined session. This allows validation that the defined session flow works as expected. Note that randomness is still a factor and random branching may lead to slightly different results between validation.
To launch a Validation Run, you can use the following command:
forge test-case launch acme-inc/sandbox --validate --dump-traffic --test-case-file=cases/blackfriday.js
The command above uses the following flags:
--dump-traffic- Enables traffic recording for easier debugging--validate- Enables the session validation mode with exactly one user per session and checks for any requests errors after the test run finished--test-case-file- Update the test case file as part of the launch command - this saves a separate update command invocation
For more tips and tricks on debugging test cases, see our dedicated Debugging page.
Running your Test Case
To finally run a test case, you can drop all the additional flags and just use the forge test-case launch <org>/<test-case> command.
forge test-case launch acme-inc/sandbox
Within a CI/CD environment we recommend using --label, --notes or --title to add context to your Test Launch, e.g. the job id or URL, git commit hash or deployed version of the target site.
Adding --watch ensure your CI/CD job blocks until the test run finished.
Finally --test-case-file updates the test case as part of the launch command to ensure you are launching the exact version that is seen by your CI/CD system.
forge test-case launch acme-inc/sandbox --watch \
  --title="CI/CD Test Run ${JOB_ID}" \
  --notes="git: $(git describe --tags)" \
  --label="git-sha=$(git rev-parse HEAD)" \
  --label="target=staging" \
  --test-case-file=./cases/blackfriday.js
Find out more
The forge CLI contains more command to help.
Checkout the README in our git repository for more commands or consult the command help output by running forge --help.
You can also checkout our GitHub Actions Guide for an example of using the forge CLI in a CI/CD context or look at our Advenced CLI usage guide to learn how manage bigger test cases or make them parameterizable.